
5 ways to take better pictures of your kids - tips from a family photographer

Something I hear frustratingly often is "your camera takes really nice pictures, I wish I could take better pictures of my kids". Well here's the thing, you can!
It's actually not about the camera. I mean yes, having a flash DSLR is super nice if you know how to use it, but taking better pictures of your kids is not about the equipment. It’s about how you use it.
So here are 5 ways to improve your photos of your kids today, whether you’re using a DSLR or your phone.
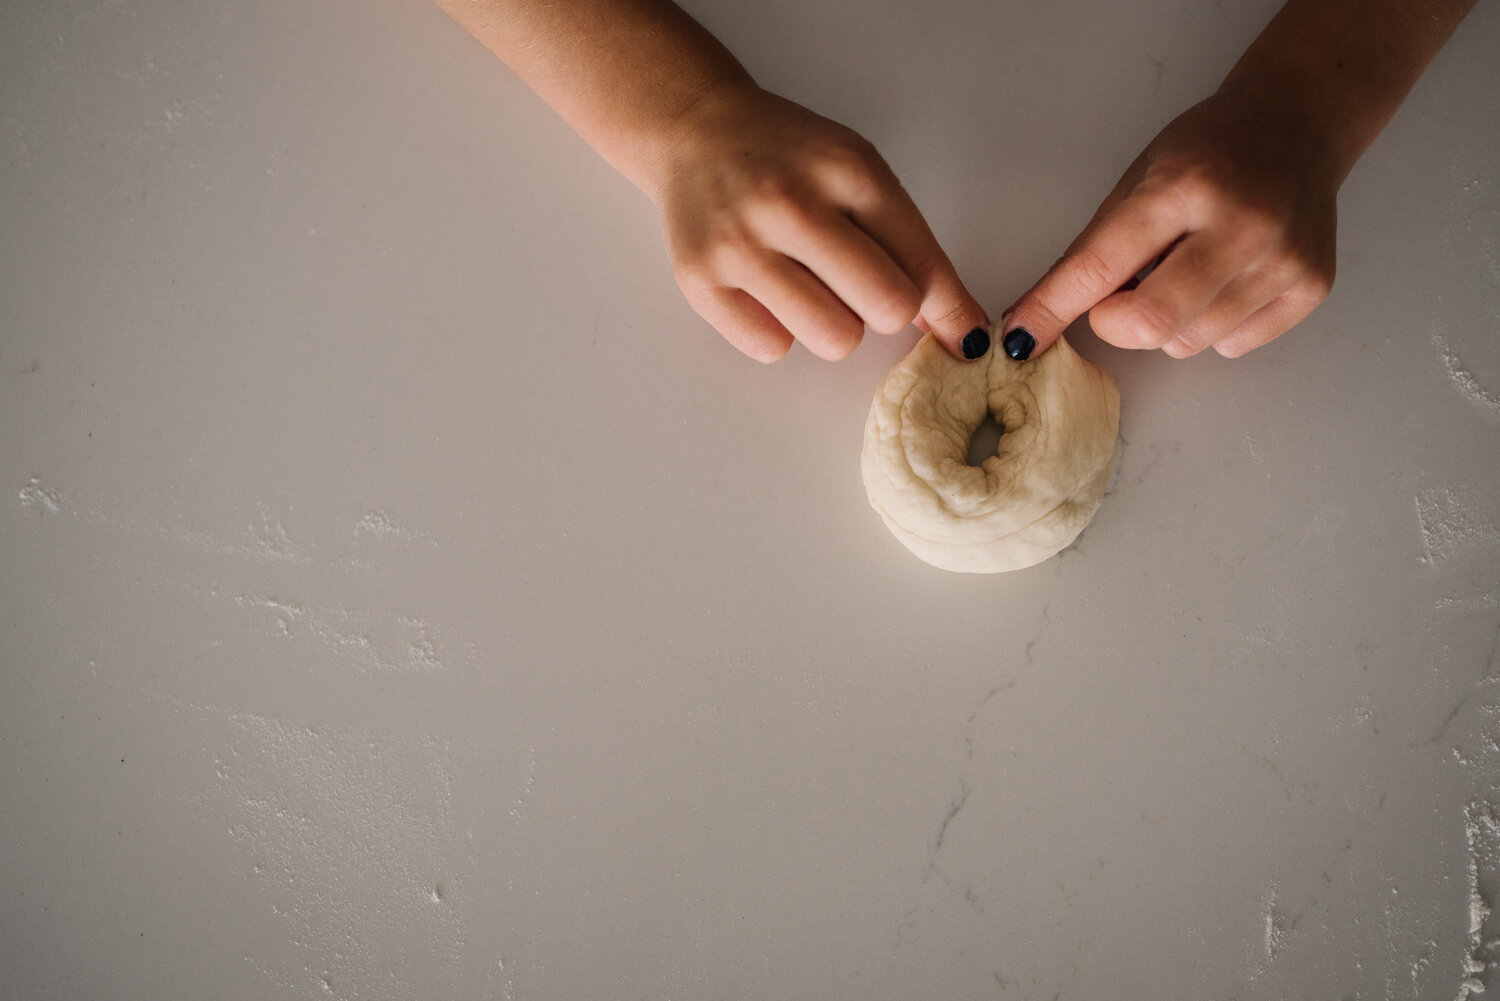
1. Get down to their level
Shooting from a kids eye view suddenly makes the world seem all the more wondrous and it ensures that your child is the focus. By getting down and shooting level with your child you make sure that you capture their face without distortion. If you’re not sure what I mean, scroll through your iPhone pictures. How many of them make your kid look like that have an unusually large forehead and dwarf legs? That’s because you’re shooting down on an angle from standing adult height. Conversely, if you get too low and shoot up at your child you’ll get all chins and nostrils. Back up, get down and shoot them from straight on.

2. Change your perspective
This might sound a little contradictory to my first point, but changing your perspective regularly is a great way to add visual interest to your pictures and take them from plain to printable.
Taking a shot of your kid’s dribbly ice-cream face? Make it cuter by having them look up at you slightly. This will emphasize their huge wonder-filled eyes and will make that smeared mess more adorable.
Maybe you’ve just walked in to find the floor overrun with an elaborate railway track set up? Try shooting from spider-eye-view by standing on a chair and shooting straight down from over-head.
If you want to get next-level committed to interesting perspectives, trying lying under a park swing for a cool feet in motion shot.
Whatever the activity or moment, if you have time try to shoot it from 3-5 different perspectives, angles or vantage points. Get high, get low, move each side. Get wide, get close. You’ll find some things work better than others depending on the moment.


3. Use easy, even light when you’re first starting out.
Light is a whole never-ending topic in and of itself. But for the purposes of this post here are a couple of things to note. Taking a picture in full sun (bright, over head sun with no shade) is going to result in dark shadowy eyes and patches of blown out skin. There’s just no getting around it.
So if you want to take a picture outside when the sun is high, look for an area of “open shade”. This could be the shadow cast by a building or a tree. It’s “open shade” when you are standing on a shadow but can see the sky directly above you (i.e you’re not actually under anything overhanging).

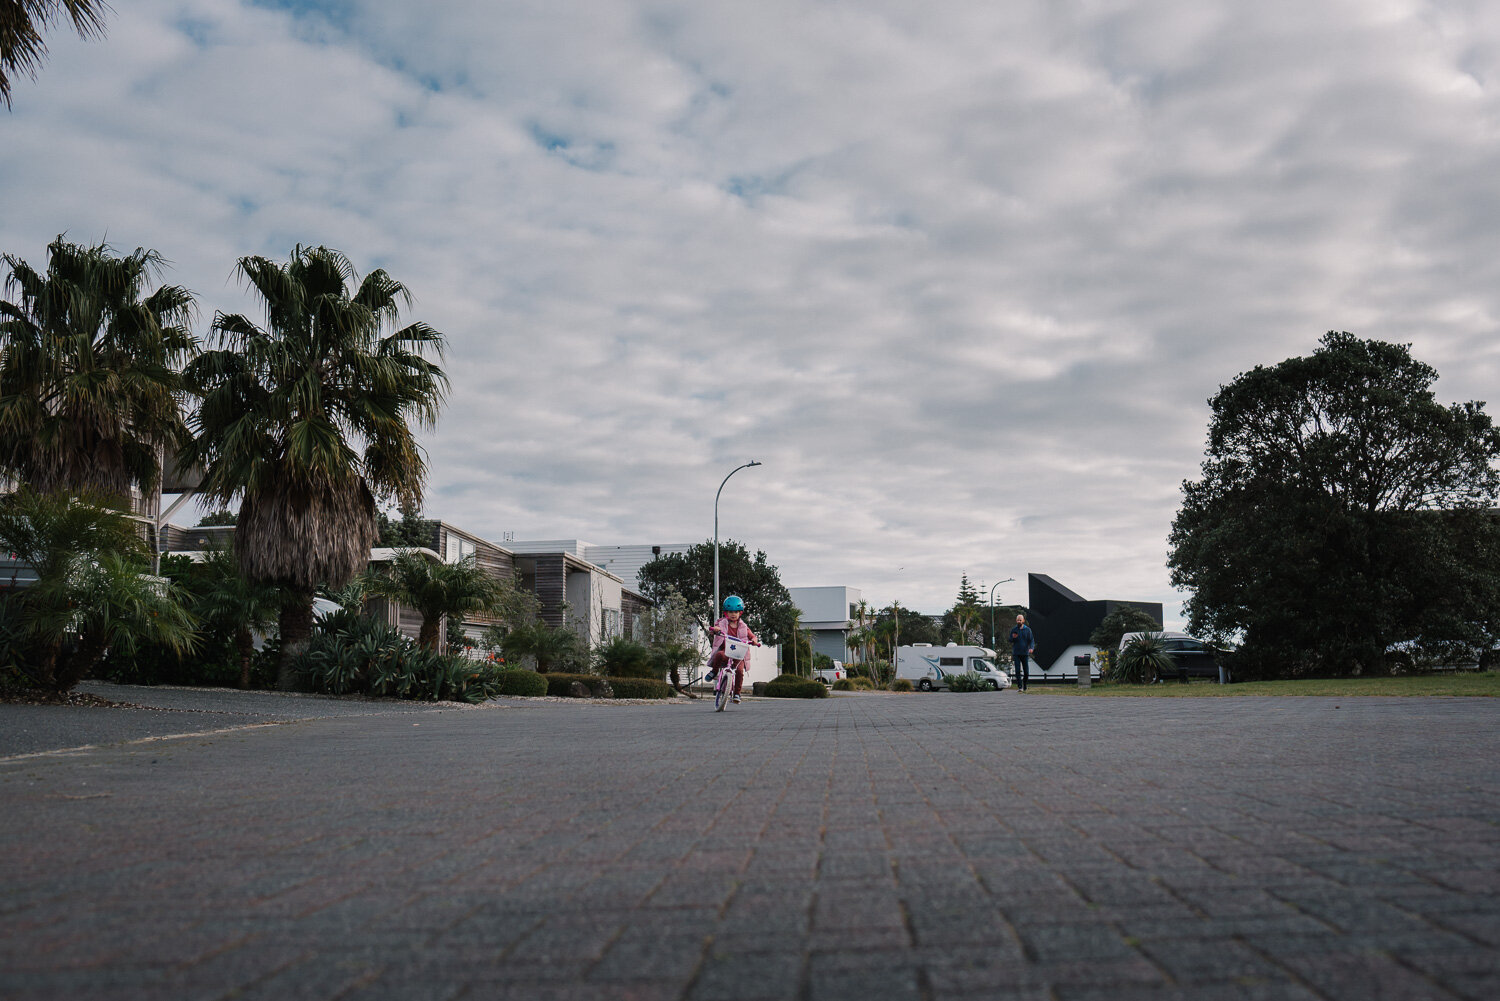
This image was taken with open sky above me, but with her standing in the shade cast by the hedge to her right.
What if there’s no shade available? How about stepping back and shooting a wider scene, or photographing the child from behind so that those shadows on their face don’t matter so much?
Alternatively have your child tilt their head up at you so they get more sun in their eyes and less shadow underneath them. The trick here is you’ll need the sun off to one side so that they’re not squinting into full sun behind you.

Here the sun was camera left, and still quite high in the sky (as you can see from the shadows under her hair. By having her tilt her face up to me we got rid of under eye shadows.
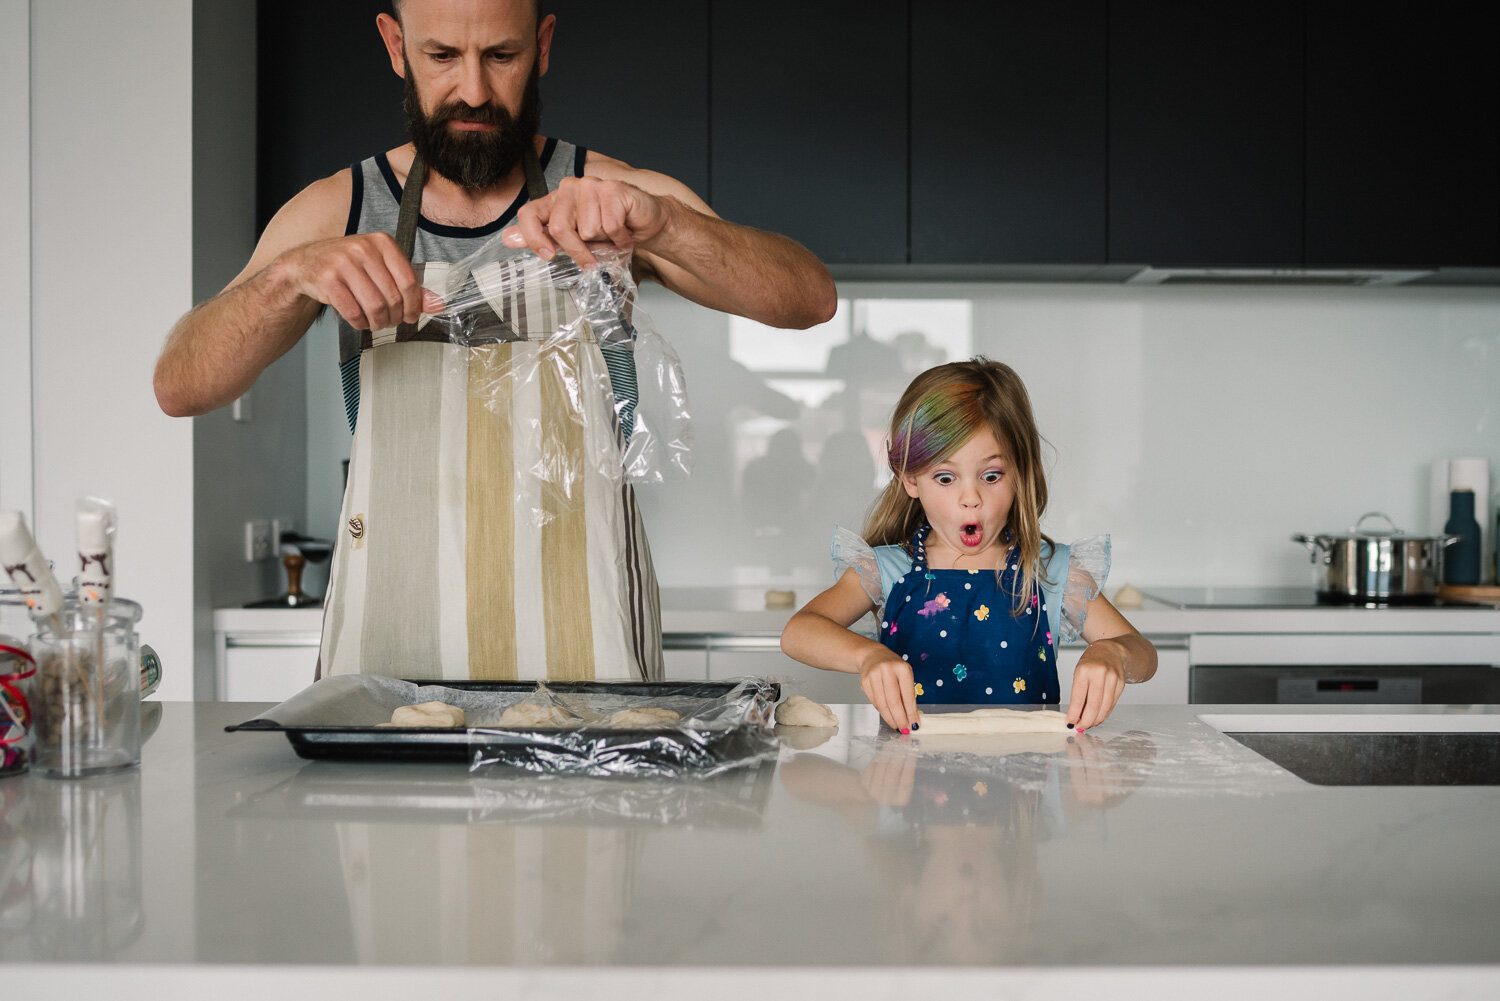
4. Fill the frame
Filling the entire frame with that gorgeous cherub’s face will make for an eye-catching photo. Again, scroll through your phone’s camera roll. How many of your pictures have a tiny little body in the middle of a vast frame of dull surroundings? Take the time to zoom with your feet. Get up close, focus your camera on the eye nearest you and fill the whole frame with that cute lil’ gob. If you’re using an iPhone, tap over your child’s eye on the screen to make your phone focus there.

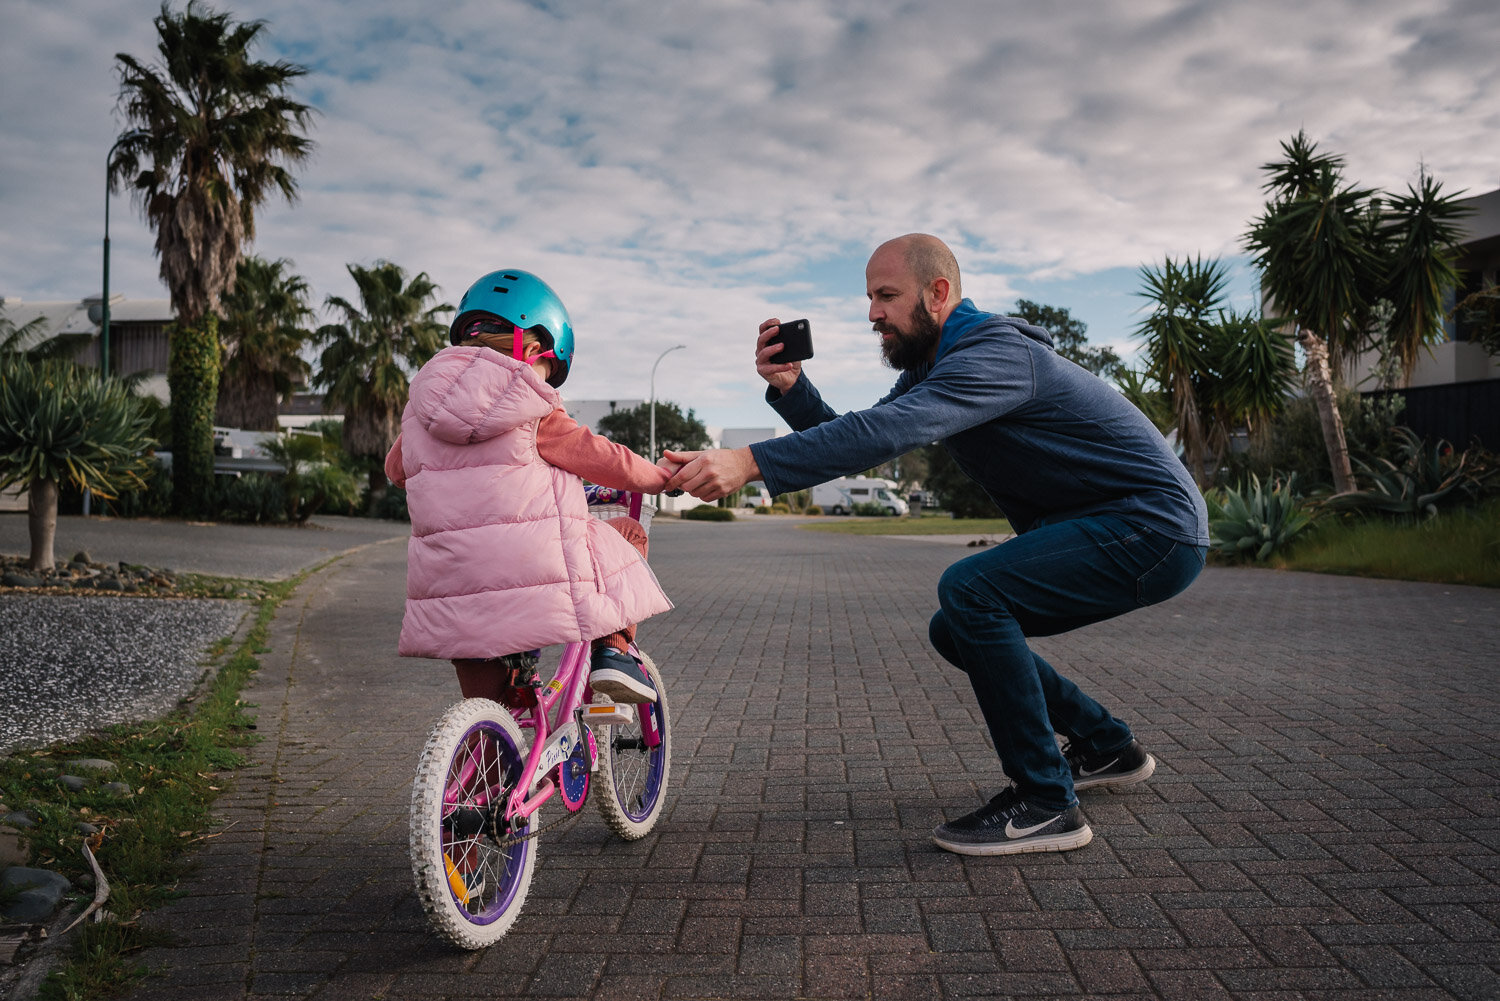
5. Slow down and compose with intention
We are all guilty of this. Our child does something incredible, we whip out the phone, wave it in their direction and “gir-girk” away (that’s the noise an iphone camera button makes in my head). The result is usually poorly framed and blurry.
So slow down. Take your time to frame what you want to capture, focus on your subject (here's how to focus your iPhone camera if that's what you're using) and compose your shot with intention. If you miss the moment make a mental note to set the stage for this activity again, and next time pre-empt their engagement and be ready.
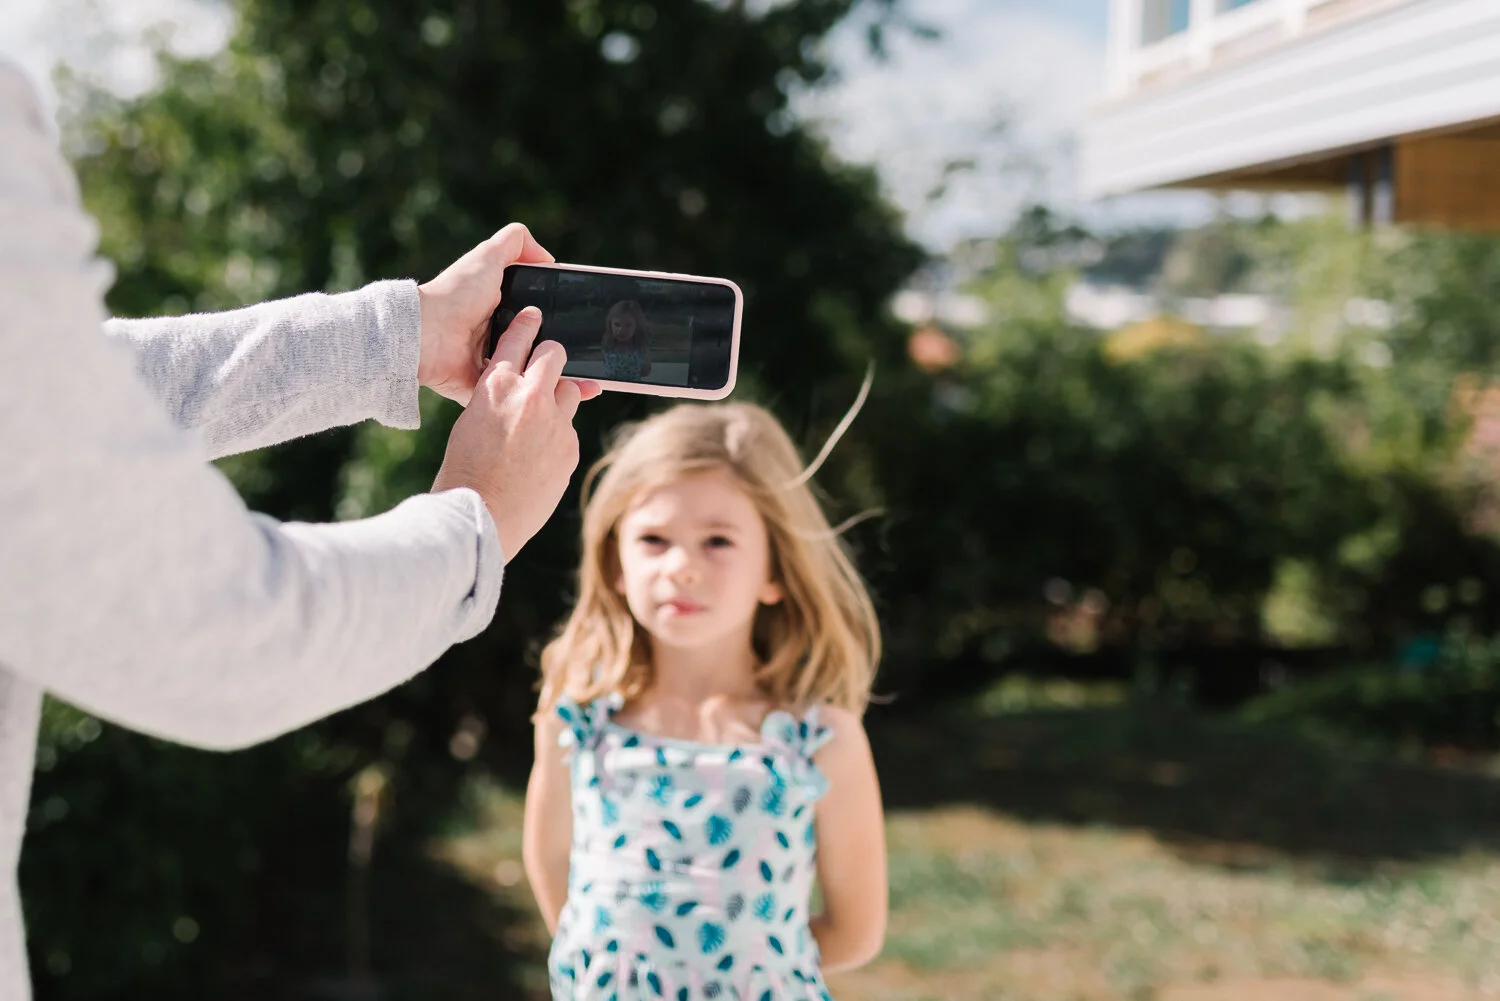
If you are using your phone hold it steady by placing it horizontal in the palm of your hand. Place your first second and third (ring) fingers flat on the back of the phone and brace it by putting your thumb on the top edge and pinky on the bottom edge. Then press the shutter button with your other hand.

As far as composition is concerned, keep it simple when you’re first staring out. Rather than automatically plonking your subject right in the middle of your image, try using the golden composition rule called “The Rule of Thirds”.
Here the frame is divided into thirds vertically and horizontally (making a grid of 9 rectangles). To make a strong image using the rule of thirds you want to place your subject on one of the four intersecting “powerpoints” in the grid.


Another simple way to improve your compositions is to look for leading lines, converging lines or repeating patterns that lead the viewer’s eye where you want it to go.


Did you find this post useful? Is there something specific you’d like to see more blog posts about? Let me know in the comments below.
Keen to beautifully document your days at home with your family - but you're just not sure how?
How amazing would it feel to end the year with an album full of incredible photos of your family's time together? Captured beautifully - by you!
Download you completely FREE guide to “Photographing Your Family at Home”.
It’s 30-something pages jam packed full of photography fundamentals that are guaranteed to take your photos from “quick snap” to album worthy! It’s kinda crazy I’m giving this away - grab a copy now!!